Microsoft Excel - Paste table into Word
How to insert an Excel table into Word
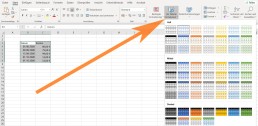
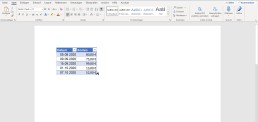
Then switch to the Word document, click on the place where the table should be inserted and select „insert“(or insert the content with CTRL+V). By default, the format of the Excel table is adopted in Word. If you have only entered values in cells in Excel, you will only get a list without table lines or coloured formatting. In Excel, you can simply select a formatting under „Format as table“ in the „Start“ tab in the „Format templates“ area.
To link an Excel table in Word
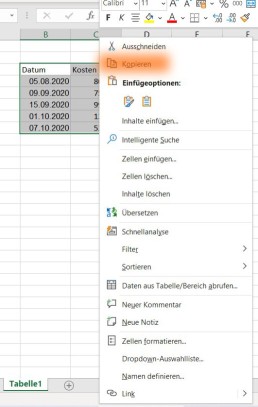
If you want to insert your values and data into Word sorted, you should create the table in Excel and then insert it into Word. This is because in Excel, with the help of an intelligent table, you can sort and systematise the values as you like. Once you have inserted the table in Word, you can only change the table in Word. Changes to the table in Excel are then no longer accepted. Therefore, it makes more sense to link the Excel table in Word. To link an Excel table with Word, first copy the contents into Excel as described above. However, you do not simply paste them into Word. Instead, move the cursor to where you want to insert the table. Then click on the small arrow under „Paste“ in the tab „Start“ in the section “ Clipboard.“

In the drop-down menu that opens, select the function „Insert content“ and a new window with this name opens. Here you select the option „Microsoft Excel workbook object“.

Click on „Ok“ toconfirm the selection and the Excel table is inserted into the document. If you now change something in the Excel table, the data is transferred to Word. To do this, you must save the changes in Excel and reopen Word so that the changes are displayed in the document.
If you often need tables for your work, you can save yourself a lot of work with this practical function.
Header image: © monticellllo, stock.adobe.com